We asked Mike Hawthorne to share his process on the variant cover of Star Wars: Knight Errant Escape #1 and he really pulled the curtain back on his work.
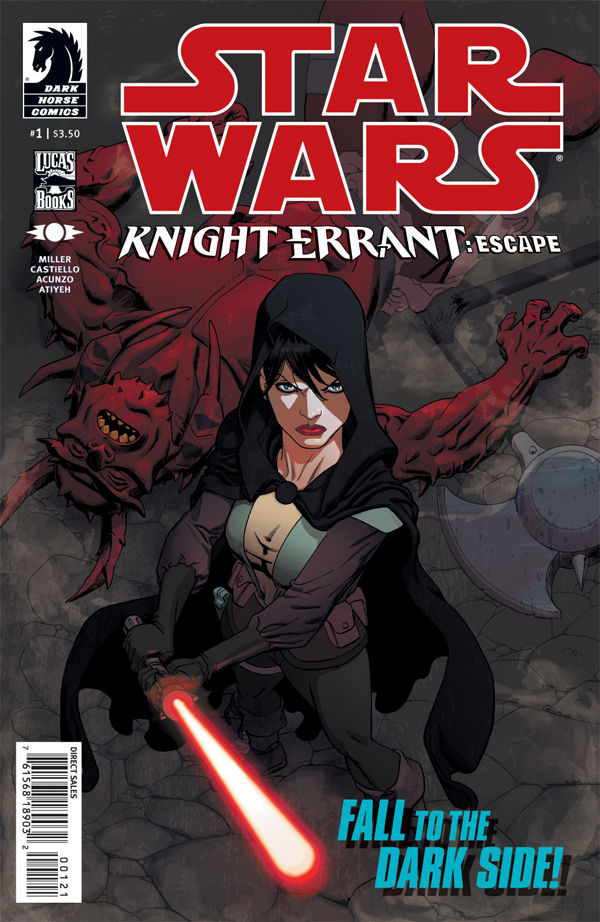
When I received the cover assignment, the idea was simple: Show Kerra as she goes undercover among a Sith army -- red lightsaber, black robes, the whole bit.
The scene I was to keep in mind is below:
It’s a very different Kerra we see days later on Skarpos, a barbaric world under the sway of Lord Malakite. It’s a stormy planet with many trenches, and a forbidding-looking mesa looms in the distance. Kerra’s dressed very Sith-like, in a black robe and hood like Anakin wore into Mustafar. And she’s doing much the same thing he was doing — only the people she’s fighting are far from helpless. Plague-ravaged mutates serving Lord Malakite charge Lord Odion’s forces on a hellish battlefield — but it’s Kerra who throws them back, Force-pushing with one hand and wielding a red lightsaber with the other. As one of several black-robed figures at the vanguard of Odion’s thug army, she leads the charge — only to stop suddenly as the Malakites unleash a stampede of monstrous mammoth-like beasts. Kerra alone among the black-garbed figures tries to stop the warriors from charging the creatures — but they go anyway, getting torn to shreds. By sheer numbers, they finally overrun the position.
The scene was ripe with drama, but I wanted a simple and straight forward image. Kerra facing off against some new monster. I tend to "think" with my hands, so I went to my sketchbook, worked out some ideas, and came up with three layouts I liked.
(Click Images to Embiggen)

I wanted a moment either just before, or just after the fight. A moment full of menace, and bad assedness (that's a word, right?). I discussed it with the folks at Dark Horse and we agreed on the second version.

I moved onto the pencils. It may not be obvious, but the first step was to figure out the perspective, which was fairly complicated. Kerra was in three point perspective. One point is below her, and two points were to her left and right. Think of drawing a sky scraper from above in 3 points and you'll get what I mean.
The monster was to be drawn using the same points, but the two vanishing points above him had to change slightly to keep him from lining up too perfectly with Kerra.

Once I had that blocked in, and could figure out how the figures relate to each other in space, I tightened up the drawing and add details. Obviously it's important to get all the small things right: shoes, cloak, light saber, where the logo will go, etc. But I tried not to get too lost in that and remember to focus on the story of the image. Kerra, having just showed this monster what's up, turning to face the next monster. In terms of the camera angle, the viewer is in the role of the monster as he (you) looks down at Kerra. You get a sense of how much bigger the monster is than Kerra, and just how little she gives a damn about it and is ready to kick it's (your) ass!

The next step were the inks. I confess, if I had more time I'd have painted this thing mostly because so much of what I wanted to show was in the color stage. But the line is still important, and I tried to render it while still leaving room for color. I leave out things that I think will work better in color, like smoke, dust or light effects.

Here is where I almost go wrong. I start coloring the image, and having wanted to paint this thing, I start to digitally paint under the line. Thing is, in my opinion, it looks overworked and has lost the impact I was going for. It looks like I'm covering the same ground I did in the line. So I trash the colors and start over, reminding myself to keep it simple.

This works. I focused less on modeling and more on the color's depth and temperature, as well as narrowing the palette to essentially grey(black) and red.
Then I add effects over the line layer, like the smoke and light saber glow. I basically drew the shapes using Photoshop's selection tool and modeled things with a mix of the brush and smudge tools.
I fiddled with the opacity of the effect layer, and add some texture to the image, and it's done!
Hope you enjoy the process.