The crew here at Dark Horse is still have a great time watching and rewatching the Buffy teaser trailer and we hope that you are too. We wanted to give you an insider's look at how it was made so we asked its engineer, David Nestelle, to give us a little insight into his process. He's a busy guy that one, so we are really greatful for his time.
Some of you may have noticed that book trailers are picking up steam. This is true not only in the book market but also in the comics market. It’s a great opportunity to showcase a new title—or, in our case, prepare the Buffy fans for Season 9. We start with a small launch meeting, which includes the art director, editor, marketing project manager, and designer (me). It’s at this time that we go over the concept and content. This is an overview and helps me get off to a good start. From there I head back to my desk and begin collecting the source material. I get the images from Buffy Season 8 to the all-new Season 9. I separate the assets into different folders. Just a little order at the beginning helps when I need to archive the project later. Most of the time I’m able to crop the art and convert it from CMYK, a print color space, to RGB, a video color space. It is not all easy; some of the art needs a little more adjustment to work in the video. Below is the process I used to prepare the hero shot for the teaser.
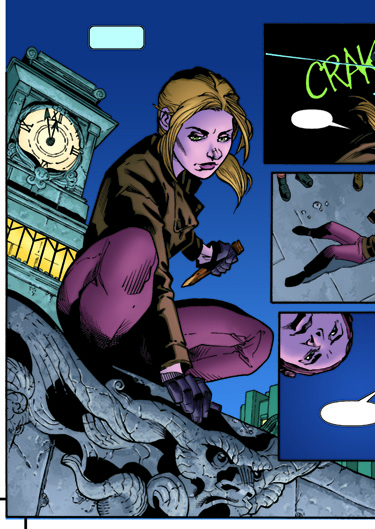
Here is the original image from Buffy Season 8. I need to extend the image and add art onto it.
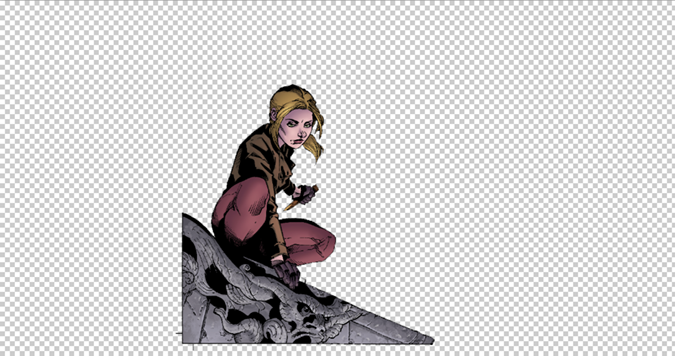
In this screen shot I isolated the image and cropped it wide. I decided to leave out the clock tower to showcase Buffy.
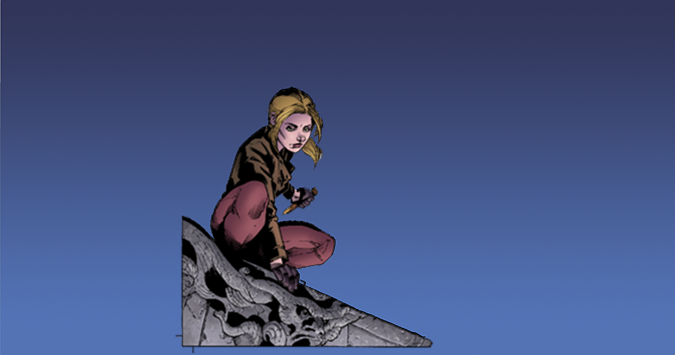
Here is the same piece with the sky inserted on a layer. Unsure whether the image would be animated, I decided to construct it on separate layers. Background layer would contain the sky; foreground layer would contain Buffy and the building she is crouched on.
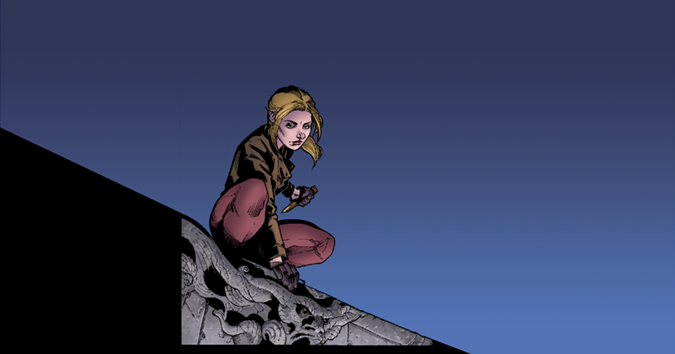
A black foreground added on the same layer as Buffy.
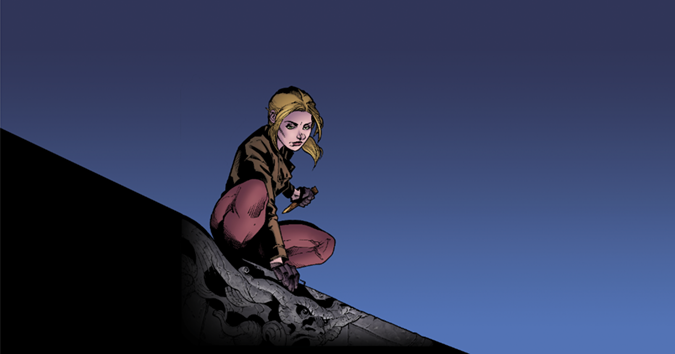
The final still image with the building blended into black foreground object.
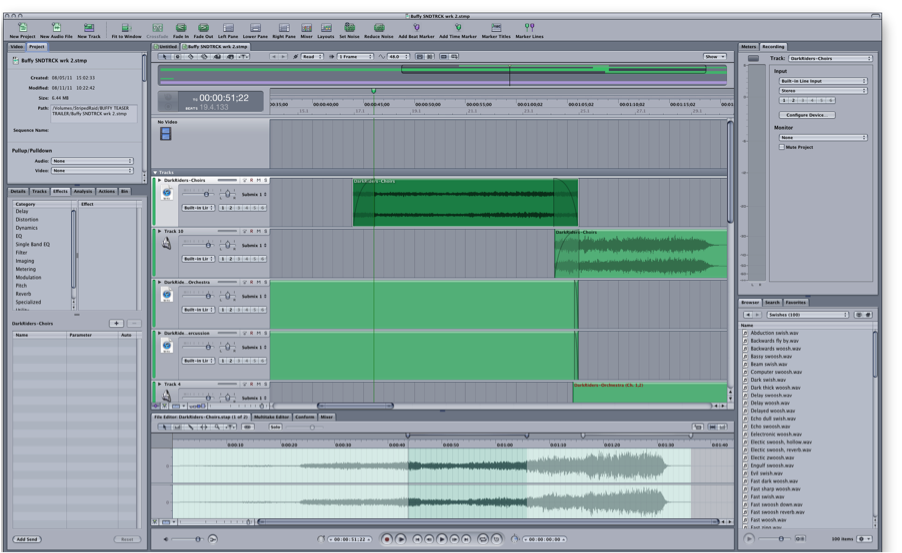
Next I’m on to the music. I start by listening to premade scores, as well as different components like tension, build ups, and FX scores. Sometimes a premade score works, and other times I just create one with the components. The reason for finding the music early on is so I can animate the transitions to the beats. It helps make the finished piece much more polished. Below you can see the Soundtrack Pro interface and the music score I will use.
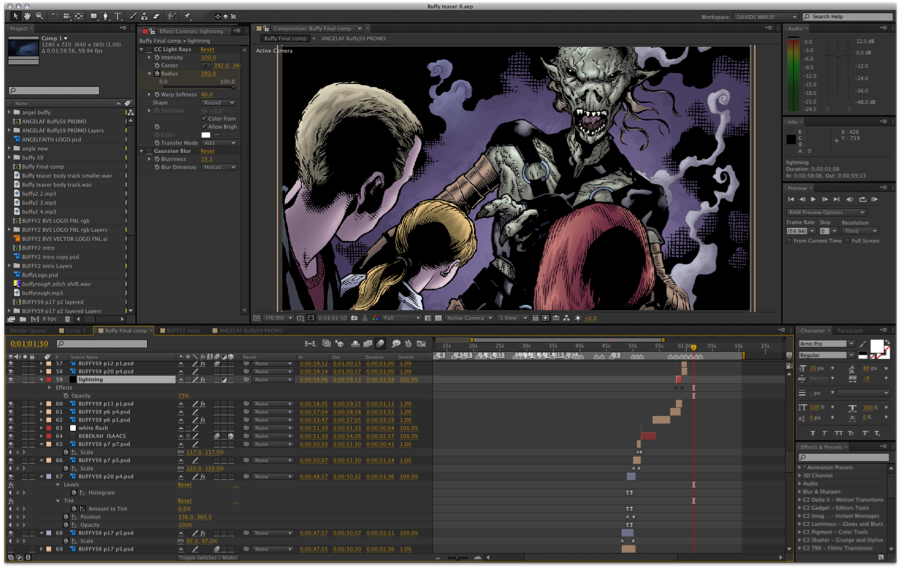
Finally the fun part: animating. There are lots of applications that can achieve similar results, like Final Cut Pro and Motion 3D, but I like to use After Effects. Below is a screenshot of the interface with my project loaded up. I know it looks like the cockpit of a 747, but it’s really not that bad. Like most Adobe interfaces it’s easy to use, especially if you use their other software, like Photoshop and Illustrator. Once the images and audio are imported, I start by dropping the images into the timeline. I move them around so that the transition from one image to another is timed to the music’s beat. At this point I will add movement. Next, I fine-tune the image transitions with fades and flashes. I will continue fine-tuning the final teaser as time allows, but at some point I must stop and move on to a new comic project. Oh, the sacrifice.
Lastly, the project moves into approvals. The final draft is seen by the art director, editors, marketing, and licensors if need be. I make corrections and deliver the final version. You can see the final Buffy Season 9 teaser here: Buffy Trailer.
-David Nestelle, Senior Graphic Designer